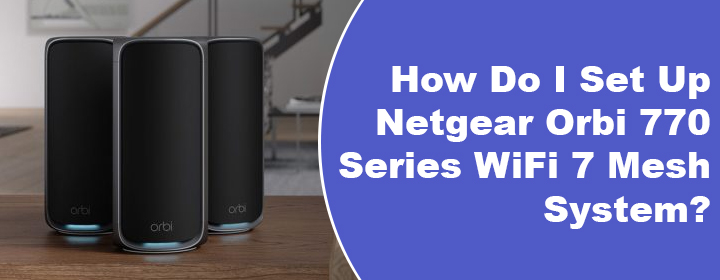
How Do I Set Up Netgear Orbi 770 Series WiFi 7 Mesh System?
Are you ready to leave slow internet and patchy WiFi connection behind? Setting up a Netgear Orbi 770 series WiFi 7 mesh system can help you a lot. It is a mesh 2 or 3-pack WiFi system and works on WiFi 7 technology. Go through the sections given below to deploy this amazing WiFi system in your house.
Instructions to Set Up Netgear Orbi 770 Series WiFi 7 Mesh System
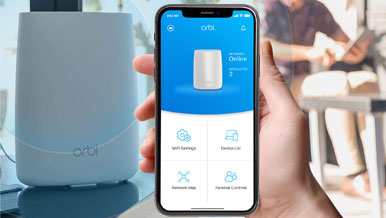
Depending upon the package you have purchased, you will find a router and 1 or 2 satellites in the mesh system pack. You don’t need any kind of special knowledge in order to set up your mesh WiFi system series. Just an active internet connection and the Orbi app is needed for Netgear Orbi setup. Here are the detailed steps explaining how you can install the mesh WiFi system to make internet dead zones a story told in the past:
Step 1: Install Orbi App and Create Account
- Go to orbi-app.com on your mobile device and download the compatible version of the Orbi app.
- Are you a first-time user? You will have to create a Netgear account then.
- Creating an account will require your email ID, password, and other important details.
- In case, you already have an account, log in to the app using correct details.

Step 2: Choose Orbi 770 from the List of Products
- After logging it, you need to select GET STARTED.
- Thereafter, tap ENABLE CAMERA AND SCAN and scan the QR code located on your Orbi 770 router.
- Once done, you will have to select the product i.e. Netgear Orbi 770 Series WiFi 7 Mesh System and the number of satellites involved in the system.
- Tap CONTINUE.
Step 3: Connect Orbi 770 Router to Modem
- The next step is to restart the modem. So, unplug it and re-plug it after a few seconds.
- As soon as the lights on your modem stabilize, you are suggested to connect an Ethernet cable to the LAN 1 port of the modem.
- Insert the second end of the Ethernet cable into the INTERNET port of your Orbi 770 router.
- Plug the router into an available wall outlet now.
- Now, let the Orbi router start.
Step 4: Switch On Your Satellites and Connect Phone to Orbi
- The ring LED on your router will pulse white during start and then become solid white.
- 5 minutes will be consumed.
- Now, you are required to plug the Orbi 770 satellites into available outlets.
- Get back to the Orbi app and select Continue. The app will also tell that the Netgear Orbi 770
- Series WiFi 7 Mesh System is starting up.
- Now, open WiFi settings on your mobile phone and connect it to the Orbi default SSID (given on the router’s label).
Step 5: Personalize Settings and Create WiFi Network
- Now, consider returning to the Orbi app and personalize the settings of the router.
- This password will allow you to access the Orbi mesh system settings if you do not want to use the Netgear account.
- Create the WiFi network by filling in the customized SSID and password for your Orbi mesh system.
- If you get disconnected from WiFi, reconnect the mobile device using the updated details.
- Set up security questions after assigning an admin password of the Orbi 770 router.
- The app will now check whether a firmware update is available for your Netgear Orbi 770 Series WiFi 7 Mesh System.
- You can now place your satellites in their permanent locations.
This is how you can set up the Orbi 770 WiFi 7 mesh system. Know that you might fail to connect Orbi satellite to router during setup. In that case, it is recommended that you push the Sync button on both devices and proceed again.
In Conclusion
As mentioned in the very beginning of the post, Netgear Orbi 770 Series WiFi 7 Mesh System is very simple. After installing the app, you just need to follow the prompts appearing there and they will help you out. We hope that your WiFi system is now set up.